
Ground Venison Jerky is the one of the first thing I make beofre a hunting trip. It’s salty, smoky, a little tangy, with that “summer sausage” flavor character that comes from a dry cure. This recipe skips soy sauce and liquid smoke mariande that most ground jerky recipes use.
Mine uses a easy charcuterie-style quick cure with smoked salt (or regular Kosher), dextrose or sugar, buttermilk powder, and a two-day rest. This develops flavor a same-day batch can’t touch. It’s easy to portion, easy to dry, and easy to throw in a pack, just like my homemade Venison Sticks.
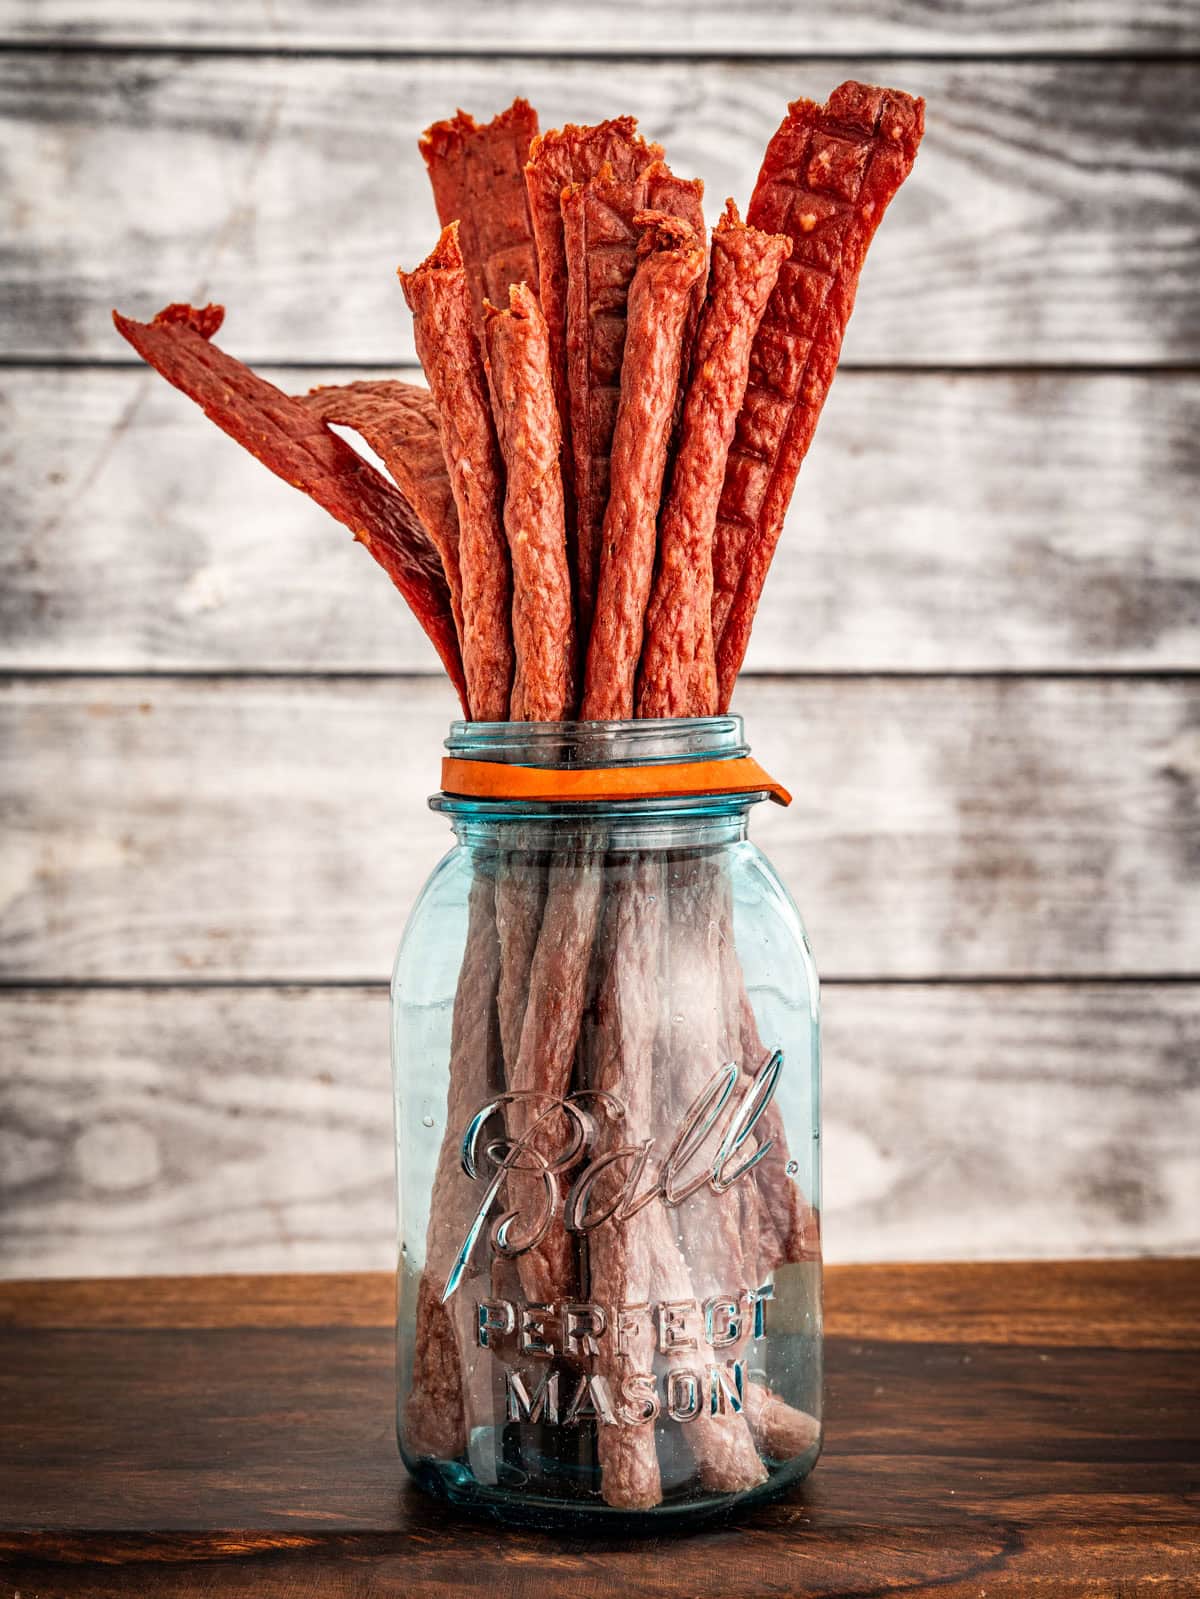
Quick Look: Ground Venison Jerky
- Ready in: 45 min hands-on + 2-day rest + 2–4 hrs drying
- Serves: 2.5 lbs raw venison → about 1 lb (16 ounces) finished jerky
- Calories: 120 calories per 1-ounce serving
- Main ingredients: Ground venison, bacon, smoked salt, buttermilk powder, pink curing salt #1
- Cooking method: Dehydrator (oven or smoker also work)
- Why this version works: A real dry cure, not a soy-and-liquid-smoke marinade, plus a 2-day rest and ~10% fat for a chewy, tangy, snack-stick texture instead of dry, crumbly jerky.
SUMMARIZE & SAVE THIS CONTENT ON
I started making this because roughly every ground jerky recipe I’d tried all tasted the same. Being flat-flavored, dry meat. They were all fine, but forgettable and not worth making again. I wanted something closer to a snack-stick flavor profile: that tang, that color, that chew.
The buttermilk powder is the trick that gets you there without an actual fermentation, and the two-day rest is what turns a rushed batch into one that actually tastes like it was cured. A 2.5 lb batch takes about ten minutes of hands-on work spread across two days. It disappears fast at deep camp, so I usually make a double batch.
If searching for other jerky-making methods, check out my collection of venison jerky recipes. For something a little heartier, try my smoked venison summer sausage recipe .
Why This Recipe Works
- Uses ~10% fat, not 25%. Most ground venison mixtures are either too fatty or too dry. In my eyes, jerky needs the perfect balance. Using this ratio dries pretty fast and evenly. It’s got a great chew without being overly greasy.
- Buttermilk powder and dextrose bring the tang. Together they mimic the lactic tang of a fermented sausage without an actual culture or fermentation chamber. No other ground venison jerky recipe does this. So if you’re wondering why other jerks that you made don’t taste like what you’ve bought from the store, this can be one of the reasons.
- The 2-day rest enhances the flavor. This step isn’t for convenience. It allows the salt and cure to fully penetrate the meat. This in turn changes the color and develops a deeper flavor. Skip this step and the jerky will taste a little flat.
- A second grind. Grinding the mixture through a small die gives you a snack-stick texture instead of the crumbly, coarse bite you get from a single grind.
- Three options to shape it, no special equipment required. You can use a jerky gun, pastry bag, or a rolling pin and pizza cutter. You can pick based on what’s already in your kitchen.
For more ways to use ground venison, try making a batch of my venison breakfast sausage recipe next.
Notes on Ingredients
See the recipe card for full information on ingredients and quantities.
- Ground venison: A lot of ground deer meat runs around 25% fat, which is great for a sausage like my venison salami, but too much for dehydrated jerky. For this recipe, you want a grind that’s closer to 10% fat. This ensures the jerky dries faster and more evenly. It also stores better. If you’re grinding venison at home, trim silverskin and sinew beforehand if you have time. This will give you the most tender chew. That being said, any cut works since it’s getting ground. So this is a good use for trim, shanks, and neck meat.
- Buttermilk powder: This ingredient adds a mild lactic tang, similar to fermented dairy cultures added to summer sausage. You can find it in the baking aisle or online. Don’t skip it, as the jerky loses that tang, and it’ll taste like seasoned dried meat, not jerky.
- Dextrose: It dissolves more evenly into the paste than white sugar and is the standard sugar used in cured meats. White sugar subs 1:1 if that’s what you have. It balances the flavors rather than adding sweetness.
- Pink curing salt #1: Also called Prague powder #1 or Instacure #1, it is a small amount of sodium nitrate blended into salt. It is not Himalayan pink salt and not a substitute for the salt already in the recipe. Instead, it gives jerky its characteristic tang and rosy color, and at low dehydrator temperatures it adds a real margin of safety. You want to add about 1 level teaspoon per 5 lbs of meat. Never increase this amount. When in doubt, read the label instructions for safety concerns.
- Smoked salt: I prefer it over regular salt for a bit of smokiness without a smoker. No smoked salt? Use regular salt plus a pinch of smoked paprika.
- Bacon: Adding bacon to the ground venison mixture adds about 10% fat, which keeps this jerky chewy instead of dry. Leave it out for a drier jerky with a longer shelf life.
- The rest of the blend: The seasonings- mustard, coriander, pepper, garlic powder, juniper, and nutmeg are what make this taste like a proper wild game jerky. It’s way ahead of a bagged spice packet from the store. Juniper can sometimes be hard to find, so you can skip it if need be.
Substitutions and Additions
- Use Regular Kosher Salt: If you can get your hands on smoked salt, simply swap it out for plain coarse kosher salt.
- Spicy: Add 1/4 to 1/2 teaspoon cayenne or crushed red pepper to the dry mix. The heat concentrates as the jerky dries, so I suggest starting small when first trying this version to see how spicy you like it. You can also try out my sweet and spicy deer jerky.
- Peppered: Press a coarse cracked-pepper crust onto the piped or rolled strips right before they go in to dry.
- No-bacon (lean): Leave the bacon out entirely. You’ll get a drier, harder chew, but a longer shelf life since there’s less fat to go rancid.
- Sweet-heat: Swap the dextrose for maple syrup or brown sugar, and add a pinch of cayenne. Cut back slightly on the liquid in the buttermilk paste to keep the mix from getting too wet.
- No Juniper: As I mentioned earlier, sometimes this can be hard to find in stores. You can order it online if you have time or sub in ground sumac.
How To Make Ground Venison Jerky
1. Season the Meat. Combine the venison with the salt, spices, and pink curing salt #1, if you’re using it, in a chilled mixing bowl. Mix until the meat is evenly coated with the seasonings.
2. Grind the meat. Grind the venison mixture through a large grinder die into a large bowl set over ice. If you don’t have ice, chill the bowl thoroughly in the freezer before grinding the meat.
3. Prepare the Liquid Mixture. Stir the buttermilk powder and dextrose together, and then add water to make a thin paste. Stir until there are no lumps in the mixture.
4. Combine: Mix the meat and paste together until the mixture turns tacky and uniform. This takes about 2 minutes to come together.
5. Add Bacon. Fold in diced bacon just until combined.
6. Rest: Pack the meat into a food-safe container or zip bags and press out air pockets. Then refrigerate for two days. This is the step where the flavor locks in and elevates the jerky flavor.
7. Re-grind: Grind the mixture again through a small die.
8. Optional Step But Smart: Fry a small piece so you can do a taste test on the salt level. Let it cool before tasting. Jerky eaten at room temp can handle a touch more seasoning.
9. Shape: Use a jerky gun, pastry bag, or rolling pin + pizza cutter to shape your ground venison jerky into strips. Note that thinner pieces dry faster and turn out crisper.
10. Dry the Jerky. Place it to dry in a dehydrator at 160°F until leathery and pliable. This usually takes 2-4 hours depending on thickness and your machine. It’s done when the jerky bends to about 90° with slight cracking, but doesn’t snap.
Before removing all the jerky, it’s a good idea to cool a piece in order to check it, since the jerky firms as it cools. Cool completely before storing.
How to Shape Ground Venison Jerky (3 Ways)
Uniform thickness is super important for ground jerky. Everything else is preference. A jerky gun is the fastest way there, a pastry bag costs you nothing, and a rolling pin gives you the most consistent strips of the three. Pick based on what’s in your kitchen, not on what the recipe says.
Jerky Gun (Jerky Cannon)
This is a caulking gun for meat, and it’s the reason ground jerky got popular. All you do is load it, pick the flat strip nozzle over the round stick nozzle, and pipe directly onto your trays with about 1/4 inch between strips.
It’s best to work in one steady pass per strip, rather than stopping and restarting, which leaves a weak seam that snaps after drying. It’s quick, and a 2.5-pound batch takes me about ten minutes.
Pastry Bag (No Special Equipment)
If you want to try making ground deer jerky before you buy gear, this is your method. Use a sturdy pastry bag with a wide flat tip, or cut a 1/2-inch opening in the corner of a heavy-duty freezer bag.
The key here is to keep the mix cold but not rock hard, or you’ll blow out the seam. Pipe with even pressure and don’t overfill the bag. I find filling it about half full gives you far more control.
Rolling Pin and Pizza Cutter
This gets you the most uniform strips of the three. Spread the mixture between two sheets of parchment and roll it out to 1/4 inch thickness. Chill the slab about 10 minutes so the cuts hold their edges, then peel the top sheet and cut with a pizza cutter.
Here’s the trick that saves you twenty minutes: lay your jerky rack on top of the cut slab and flip the whole thing over, then peel the bottom parchment away.
| Shaping Method | Best For | Watch Out For |
|---|---|---|
| Jerky Gun | Big batches and uniform shape | Watch out for stop and start seams and don’t overfill the gun. |
| Pastry Bag or Ziplock | Beginner jerky makers or don’t have equipment | It’s easier to pipe with the bag only half full. |
| Rolling Pin + Pizza Cutter | Most consistent thickness | Meat sticking: be sure to use parchment paper and NOT wax paper. |
Seem like too much work, my venison Italian sausage is one of the easiest ways make something special with ground venison.
How to Dry Ground Venison Jerky: Dehydrator, Oven, or Smoker
Any of the three shaping methods above works with any of the three drying methods below. Shape it with any of those and dry with one of the methods below.
Keep in mind that a dehydrator gives will give you the most control. But an oven works if that’s all you have. A smoker is another great option to add an even more smoky flavor. But I recommend using an electric smoker so that you don’t have to worry about temperature fluctiation as much.
Dehydrator (My Preferred Method)
Set it to 160°F and give the strips at least 1/4 inch of space on the tray so air moves between them. I start checking at two hours and usually pull mine somewhere in the 2 to 4 hour range depending on thickness and how full the machine is. Rotate your trays about halfway through, as every dehydrator I’ve owned has a hot spot. Cool a piece completely before you judge if it’s ready.
Oven
Set your oven as low as it will hold, which on most home ranges is around 170°F. Lay the strips on a wire rack set over a sheet pan so the air can circulate around them. Prop the door open a few inches with a metal spoon handle to let moisture escape. If your oven has convection use it. This will create more air flow in your oven. Just know that most convection ovens run at around a 25 degree higer temperature than a standard oven. So this means the jerky will generally dry faster.
Smoker
Run it at 170°F and use applewood, pecan, or hickory. Heres something worth knowing about my recipe: the smoked salt and smoked bacon are already provide smoke flavor. So this is one of the few jerky recipes where the smoker is a bonus rather than a requirement for a smoky flavor. If you do smoke it, use plain kosher salt in place of the smoked salt. I’ve also got a smoked venison jerky recipe which uses strips of venison instead of ground.
Chef Tips
- Keep everything cold. Chill the bowl, and keep the meat cold through both grinds. Warm fat smears instead of cutting cleanly, which stops the jerky from drying evenly and keeps it from binding.
- Don’t skip the resting period. Two days in the fridge lets the salt and cure fully penetrate the meat. If your goal is to make the most flavorful jerky possible, I highly recommend not skipping it.
- Mix to tacky, not just combined. In addition to mixing, you’re also pulling myosin out of the meat which helps bind the strips together. Two minutes of mixing, until the mix pulls at itself, is what holds the jerky together through drying.
- Salt to the fry test. Fry a small piece and let it cool before tasting. Jerky is eaten at room temperature and cold food needs more seasoning than you’d guess from a hot bite.
- Aim for uniform thickness. Which ever shaping method you choose, try to keep the strips all the same size. If not, the texture and flavor will change bite to bite.
- Judge the doneness once it’s cooled. Bend a cooled piece to about 90°. It should crack slightly, not snap. Hot jerky always seems softer than before its had a chance to cool to room temperature.
- Rotate your trays or racks. Every dehydrator, oven, and smoker has a hot spot. Rotate halfway through drying for an even batch.
- Storage: Refrigerate in an airtight container for 2–3 weeks, or freeze up to 6 months. Because this version contains bacon, don’t leave it at room temperature beyond a couple of days on the road or trail.
Troubleshooting Ground Deer Jerky
Even a solid batch can go sideways. Here’s how I spot what happened to fix it next time.
| Problem | Likely Cause | Fix |
|---|---|---|
| Jerky is crumbly or falls apart | Under-mixed or skipped the 2-day rest | Mix for a full 2 minutes until the mix pulls at itself, and don’t skip the rest. |
| Jerky is greasy or won’t dry | Fat got warm and smeared during grinding | Keep meat and grinder parts cold, especially before the second grind. |
| Too salty | Salt concentrates as moisture leaves during drying | Test saltiness using the cooled fry test, rather than relying on just the raw mix. |
| Uneven drying across a batch | Hot spot in dehydrator/oven/smoker or the strips were too close together | Rotate trays halfway through and leave at least 1/4″ between strips on the tray. |
| Batch tastes stale or “off” after a week or two in the fridge | Fat oxidized — likely smeared during grinding, or bacon fat breaking down | Ensure the mixture stays cold next time and fully cool the jerky before sealing. Store it in the fridge rather than at room temperature. |
Ground Venison Jerky FAQs
How long do you dehydrate ground Deer jerky?
Plan on 2 to 4 hours at 160°F, depending on strip thickness and how full your dehydrator is. Start checking at the 2-hour mark. The time range matters less than the result. To check for doneness, pull a piece, let it cool, and bend it. It should crack slightly, not snap.
What temperature should you dehydrate ground venison jerky at?
160°F is the target for a dehydrator. If you’re using an oven, aim for the lowest setting it will hold, usually around 170°F. A smoker should run at 170°F as well. All three temperatures are meant to dry the meat, not cook it quickly
Can I make this deer burger jerky without a meat grinder?
Yes. Skip the grinding steps and use pre-ground venison, then mix in the seasoning, cure, and buttermilk paste by hand until the mixture turns tacky. Keep in mind that unless the fat content is known, your results can vary. Also, you will not be able to add bacon to the mix without grinding it.
Can I leave this ground venison jerky out at room temperature or take it backpacking?
For a few days on the road or on a hike, yes. This version isn’t meant for long-term room-temperature storage because it contains bacon, and the added fat shortens how long it can safely sit unrefrigerated. For a trail-stable batch, make the no-bacon variation instead, which holds up longer outside the fridge.
More Venison Recipes
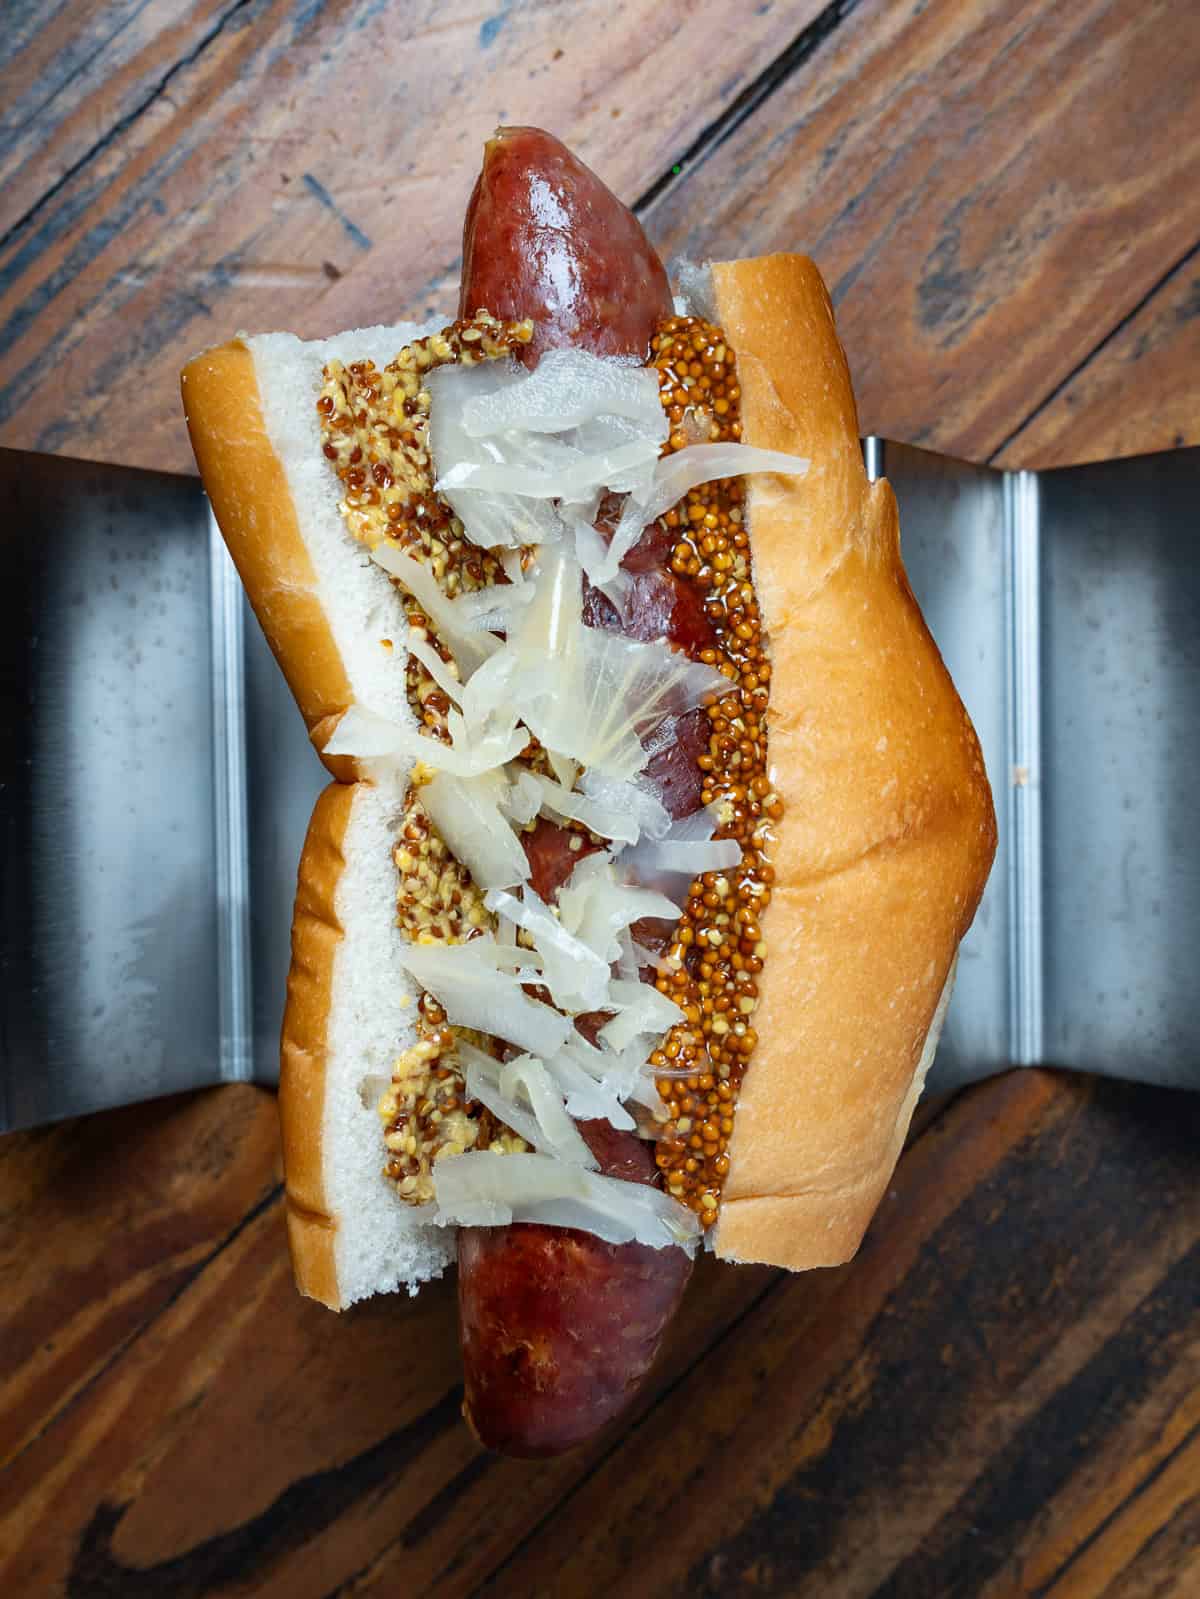
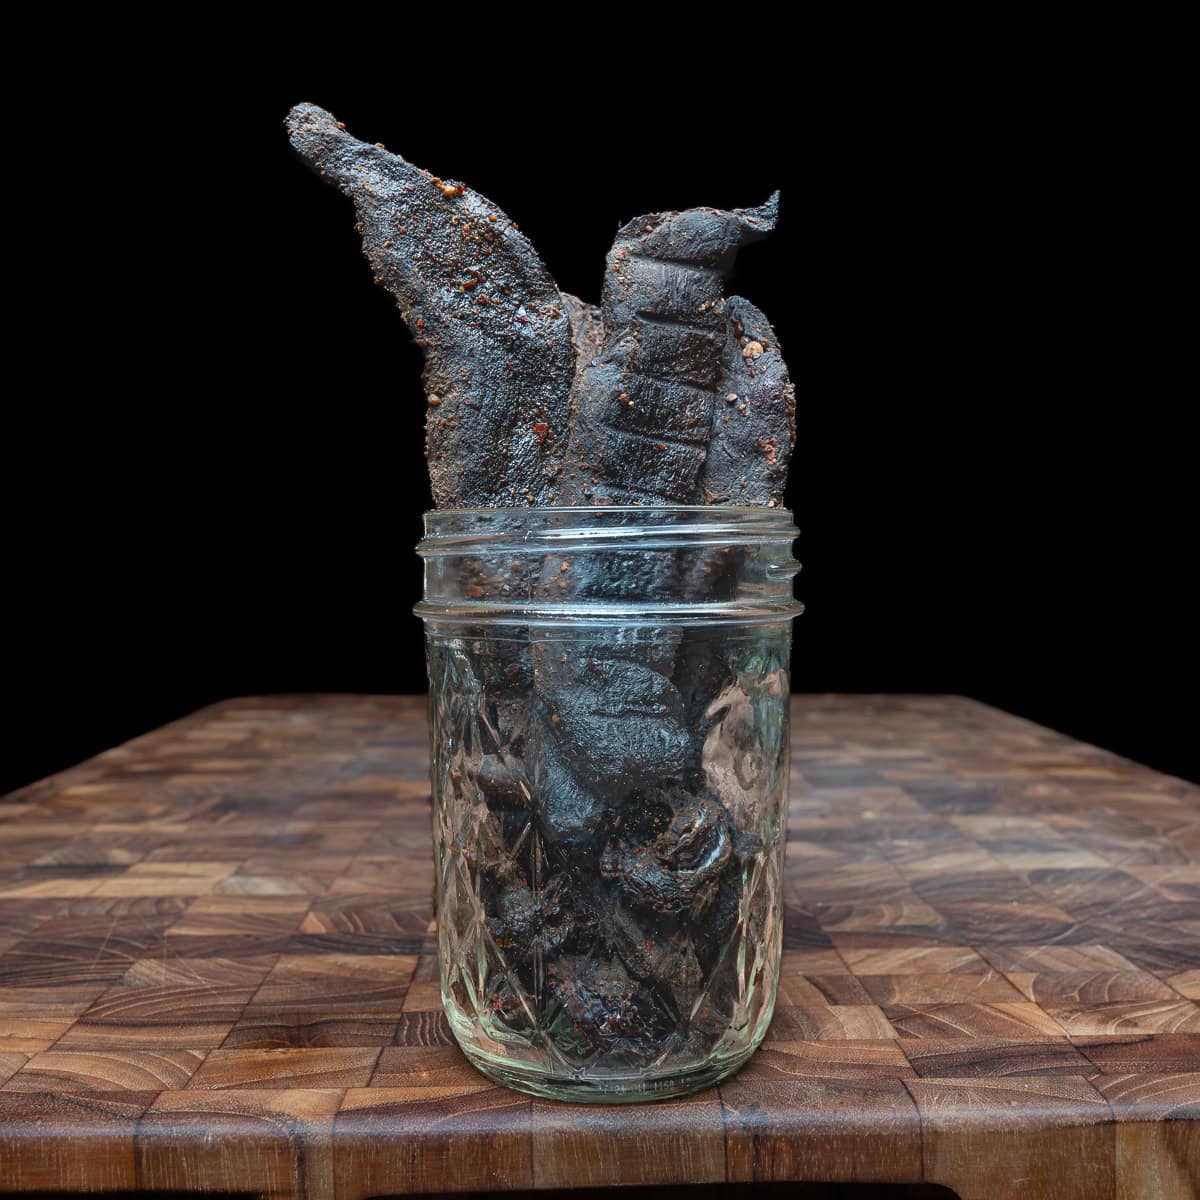
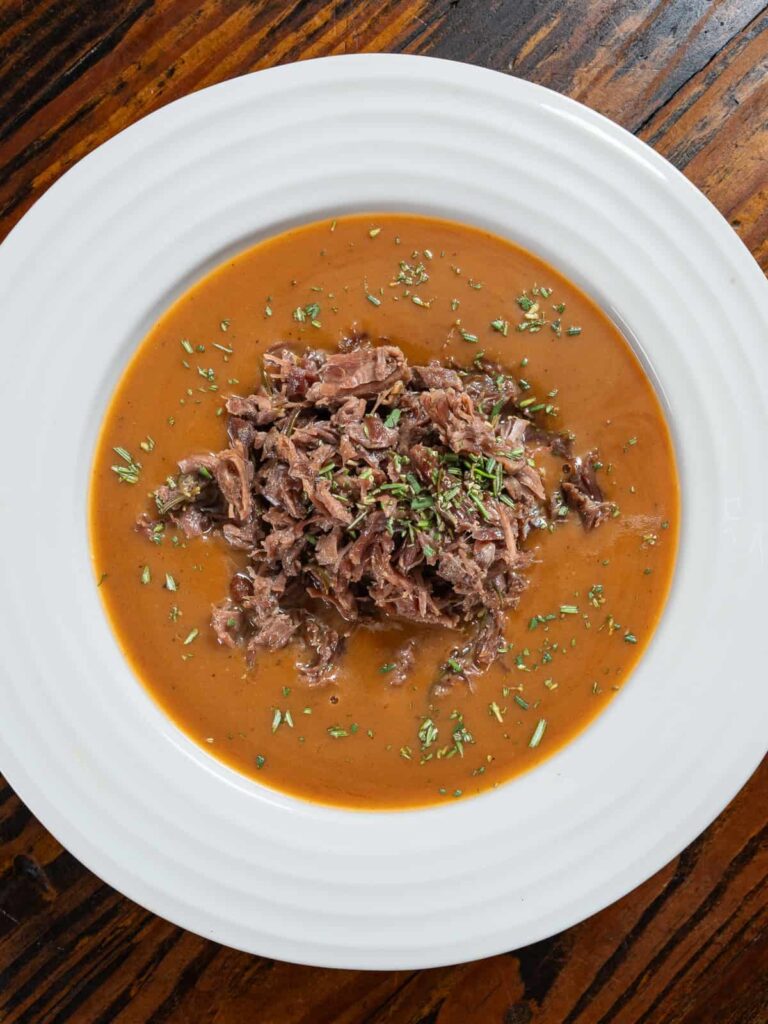
Below are a few of my favorite venison jerky and sausage recipes.


Tried this Recipe? Please leave a ⭐⭐⭐⭐⭐ rating in the recipe card below and leave a comment. I love to hear from readers! And if you have any cooking questions or want to share your latest food photos, give me a shout on Instagram at @larry__white.
Homemade Ground Venison Jerky Recipe
Equipment
Ingredients
- 36 ounces trimmed boneless venison, (or ground venison)
- 4 ounces smoked raw bacon, (diced)
- 1 ½ tablespoons smoked salt (or regular coarse Kosher salt)
- 1 ½ tablespoons dextrose or white sugar
- ½ teaspoon (3 grams) pink curing salt, (optional)
- 2 teaspoons dry mustard powder
- ¾ teaspoon ground coriander
- ¼ teaspoon ground black pepper
- ½ teaspoon garlic powder
- ½ teaspoon ground juniper berries
- ¼ teaspoon ground nutmeg
- ¼ cup buttermilk powder
- Water (enough to make a paste with buttermilk powder)
Instructions
- In a chilled large mixing bowl, add the venison, salt, pink salt, and spices. Stir until the meat is coated. Don’t add the buttermilk powder or dextrose (or white sugar if using) yet.
- In a separate bowl add the buttermilk powder and dextrose. Add enough water to make a thin paste. This usually takes between 1/4 to a 1/2 cup of water. Stir ensuring there are no lumps. Set aside.
- Grind the venison mixture through a large grinder die into a large bowl set over ice. If you don’t have ice, make sure the bowl is thoroughly chilled in the freezer before grinding the meat into it.
- If using a stand mixer, fit it with a paddle attachment. If mixing by hand, find yourself a large sturdy spoon. Mix the ground venison and buttermilk paste together thoroughly for about 2 minutes. Add the diced bacon and fold in until just combined.
- In a food-safe storage container or plastic food storage bags, add the ground venison mixture. Press the meat down ensuring that there are no air pockets. If using a storage container, add plastic wrap directly to the top of the meat, pressing down firmly. Then cover the entire top of the container with more plastic wrap. If using gallon freezer bags, remove all air and fold over any extra space in the bag.
- Refrigerate for 2 days.
- Grind the meat again, but this time using a small die. If you want to check the flavor, now is a good time to fry up a piece. Add more salt if you think it needs any. Just remember you will more than likely eat this at room temperature. Foods eaten cold need a little more salt.
- Load your jerky gun with the ground venison.
- Pipe onto your dehydrator trays ensuring there is at least 1/4 inch space between the strips of meat.
- Dry the meat in your dehydrator set at 160 degrees F. I dry mine for around 2 hours or until they are thoroughly dried, but still pliable when bent. If needed dehydrate more as needed for taste, texture, and doneness.
- Let the jerky strips cool completely before storing. For storage, I recommend storing in the refrigerator or in a freezer in air-tight containers. Being that this version contains bacon, I wouldn't store this at room temperature other than road trips or hiking trips. Recipe makes about 1-1 1/4 pounds of dried ground venison jerky.
NOTES
- Keep the mix cold the whole time. Chill the bowl, and if you are grinding, keep the meat cold so the texture stays cleaner and the fat does not smear.
- After mixing, refrigerate the meat for 2 days before the second grind and drying step. That rest is part of the flavor and texture on this recipe.
- A jerky gun is the easiest way to get even strips, but a pastry bag or the rolling-pin method also works. The main thing is keeping the strips uniform in thickness so they dry evenly.
- Dry at 160 F until the jerky is leathery and pliable. Do not judge doneness by internal temperature. If it snaps or turns brittle, it has gone too far. Rotate trays if needed for more even drying.
- Pink curing salt #1 is optional, but it helps with the classic tangy jerky flavor, better color, and an extra safety margin for low-temp drying. Use only the amount listed in the recipe.
- Because this version includes bacon, store it in an airtight container in the refrigerator for 2 to 3 weeks or freeze for up to 6 months. It is fine for a couple of days on the road or in a pack, but not for long-term room-temperature storage.
Nutrition
Nutrition information is automatically calculated, so should only be used as an approximation. Nutrition is per serving.




4 thoughts on “Ground Venison Jerky”
If I do this without the bacon (I know, blasphemy) it would be safe at room temperature then correct?
I personally wouldn’t leave it sitting out at room temperature for longer than a couple of days unless you dry it well.
If you leave out the bacon and include the optional pink salt, that will give you a buffer.
Just keep in mind, omitting the bacon or any added fat for that matter will give you a drier final product.
Thanks for all the great recipes larry. Just discovered you and looking forward to trying a bunch of these. quick question, i don’t have a grinder but do have a bunch of elk burger with 10% pork added, can I just use this and skip the grinding and bacon? Probably will take a lot of mixing, but is it doable? Thanks for the help.
It’s doable. The salt content will be slightly off, but that can be easily adjusted.
You could also use a little smoked paprika if you want some smoke in there. Smoked salt and smoked black pepper are also great.